
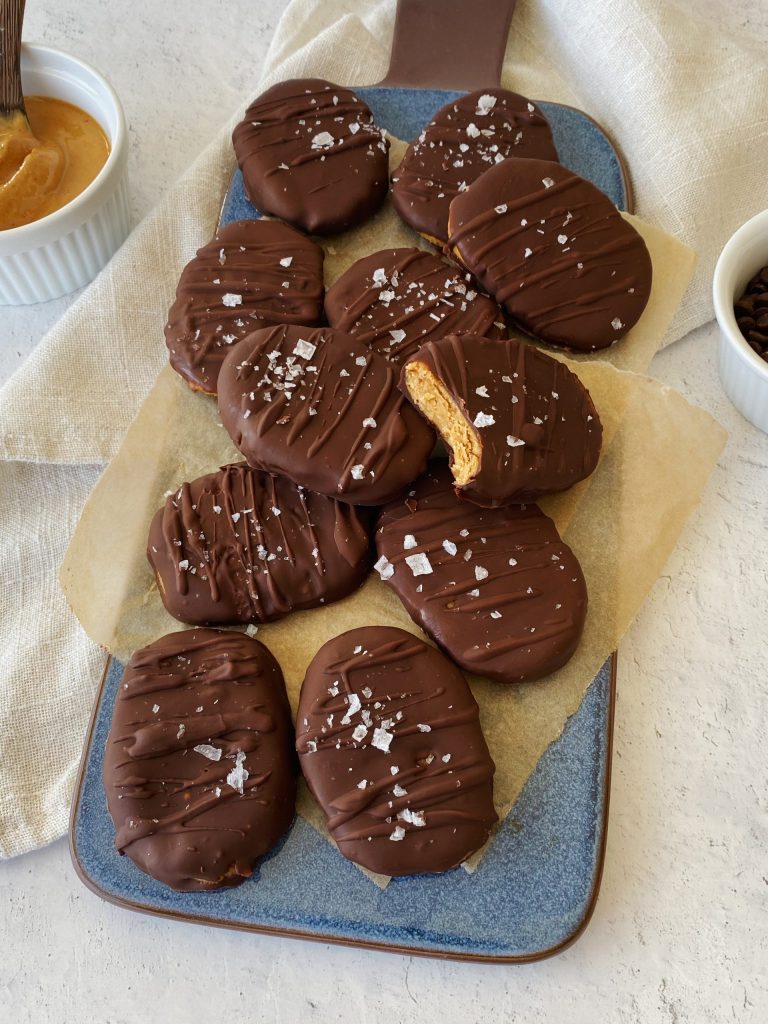
It’s day 3 of candy week and homemade butterfingers are on the menu! Healthy butterfinger was probably one of the most requested chocolate bar to make, and i’m so happy with how these turned out!
I use the term healthy loosely, because while these are homemade and made with simple ingredients, they still have sugar-so don’t go ahead and eat the whole batch. (trust me, you’ll want to)
I was talking to my close friend when brainstorming how to make these. She’s such a huge fan of butterfingers, and to be honest, they weren’t always my first choice of chocolate growing up. I was more of a Snickers and Twix kind of gal.
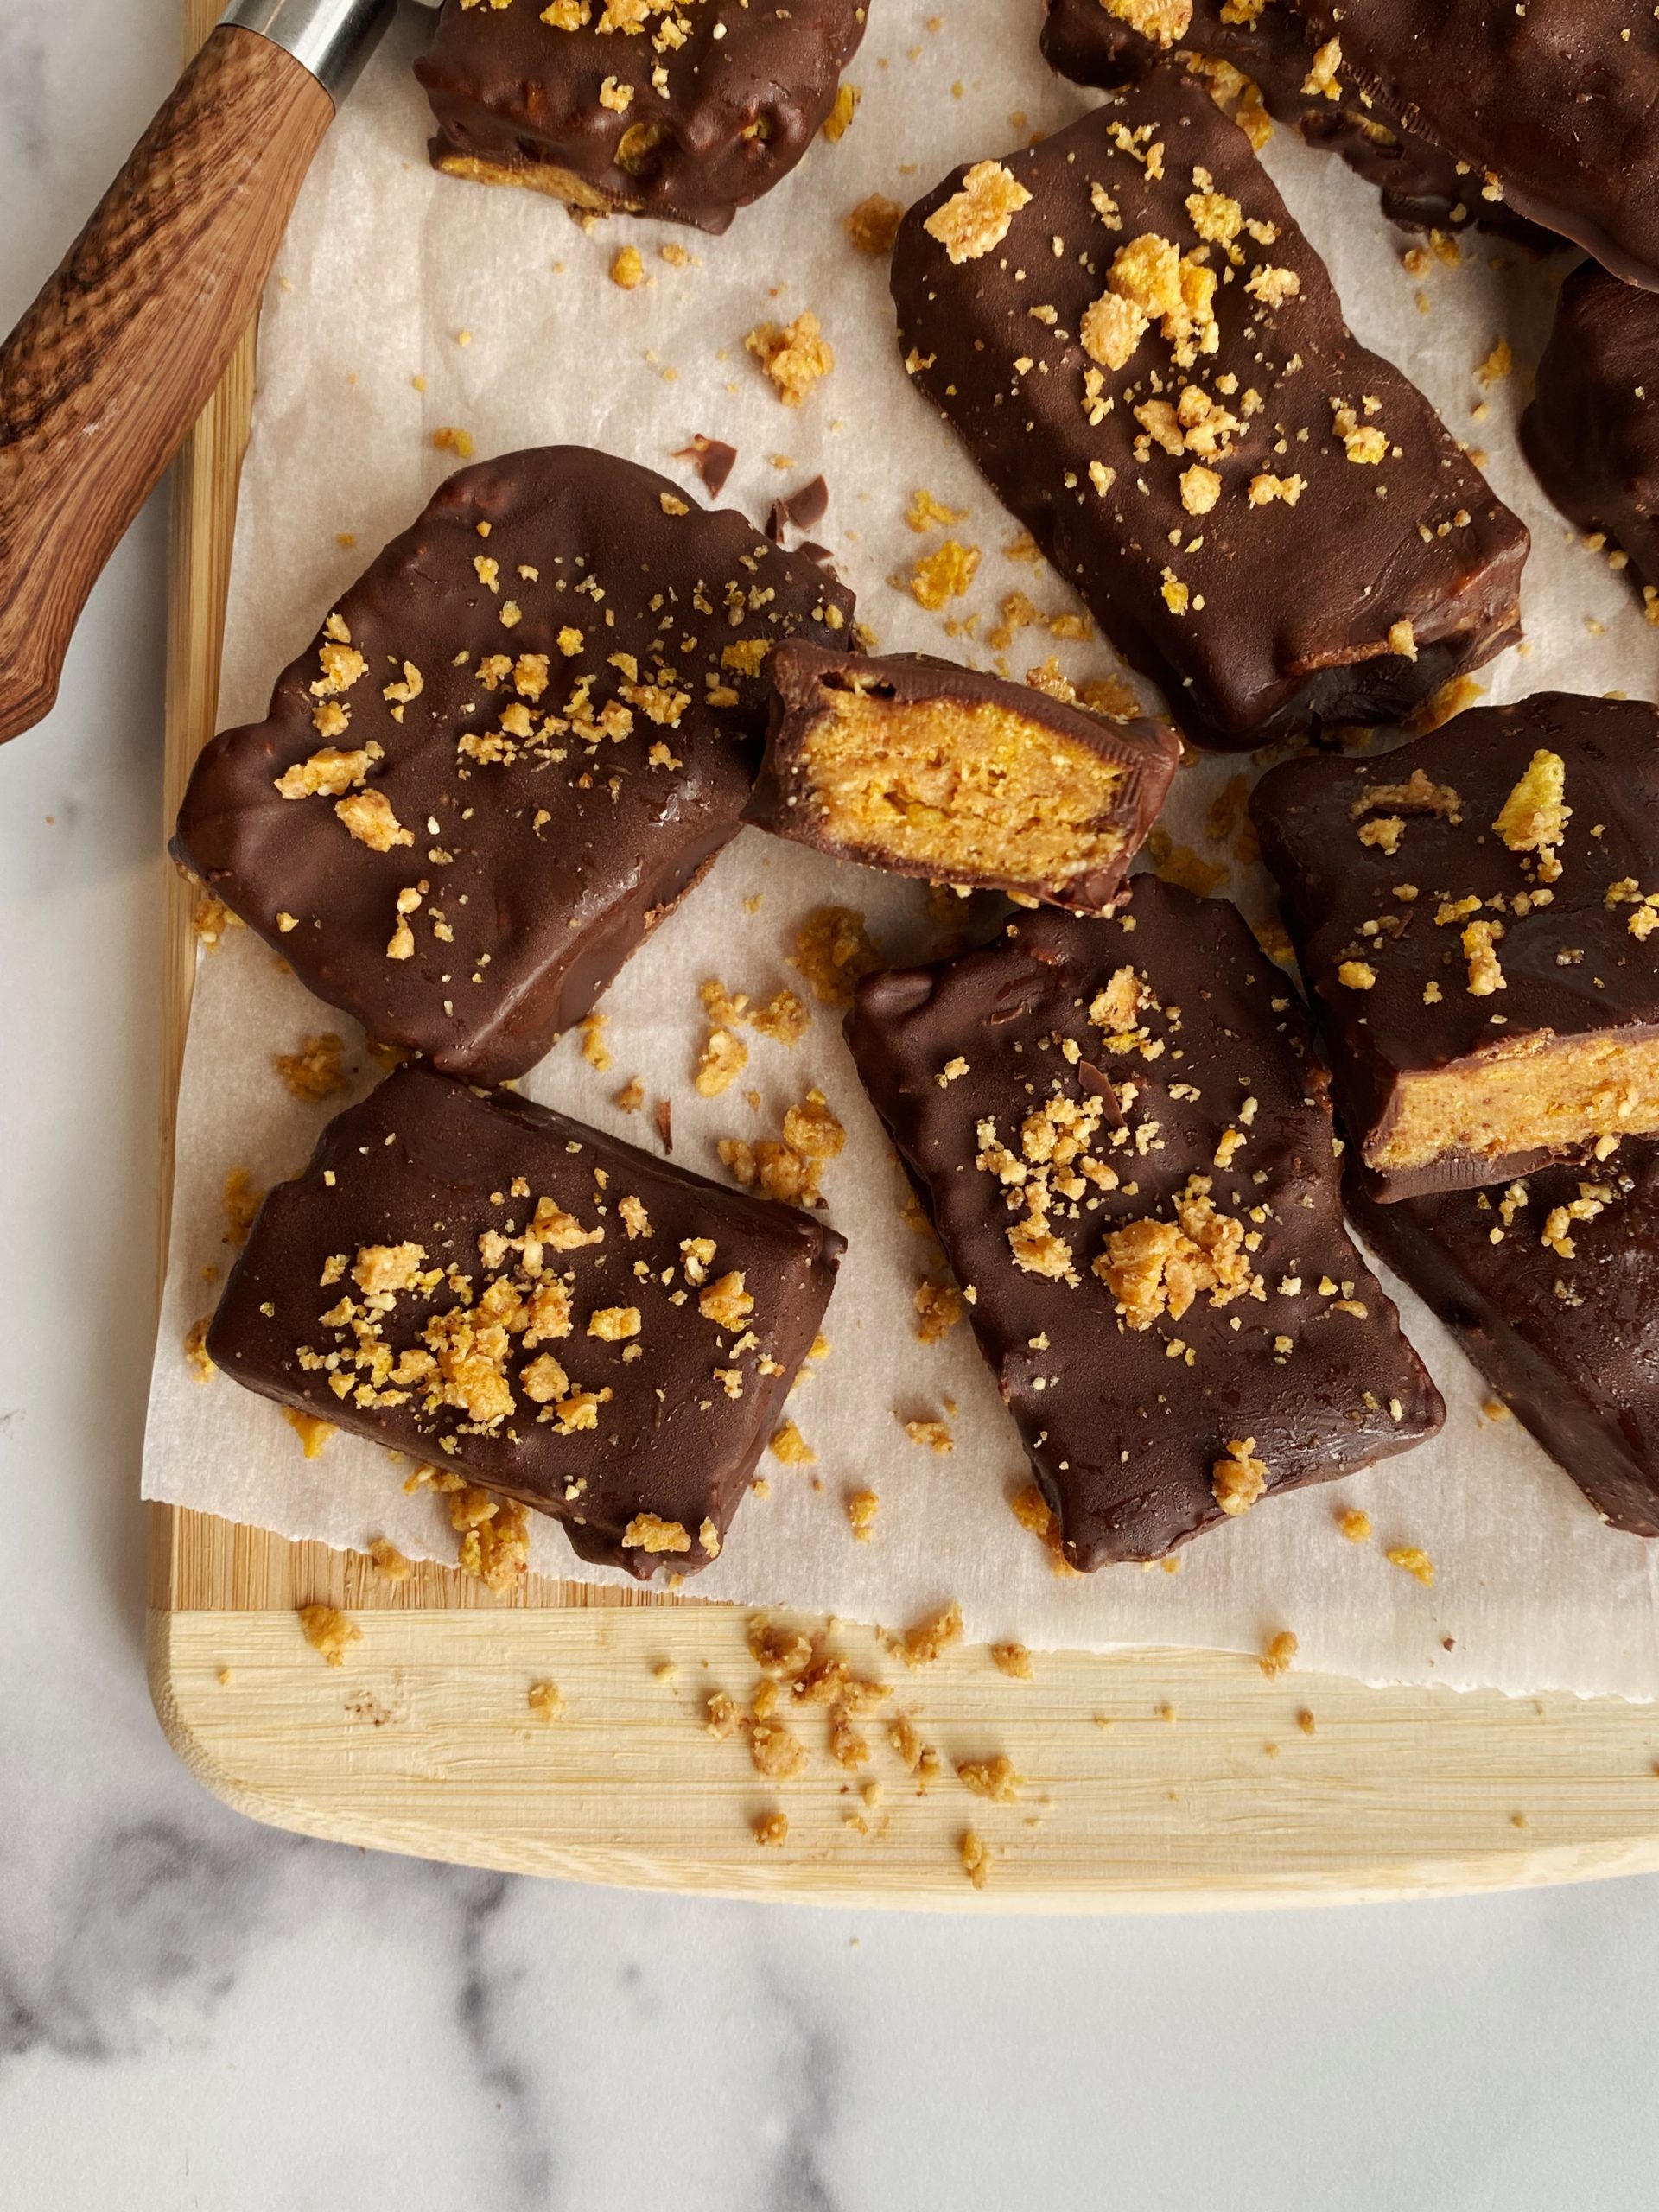
We both agreed that these homemade healthy butterfinger bars needed to have that crunch factor like the real ones do.
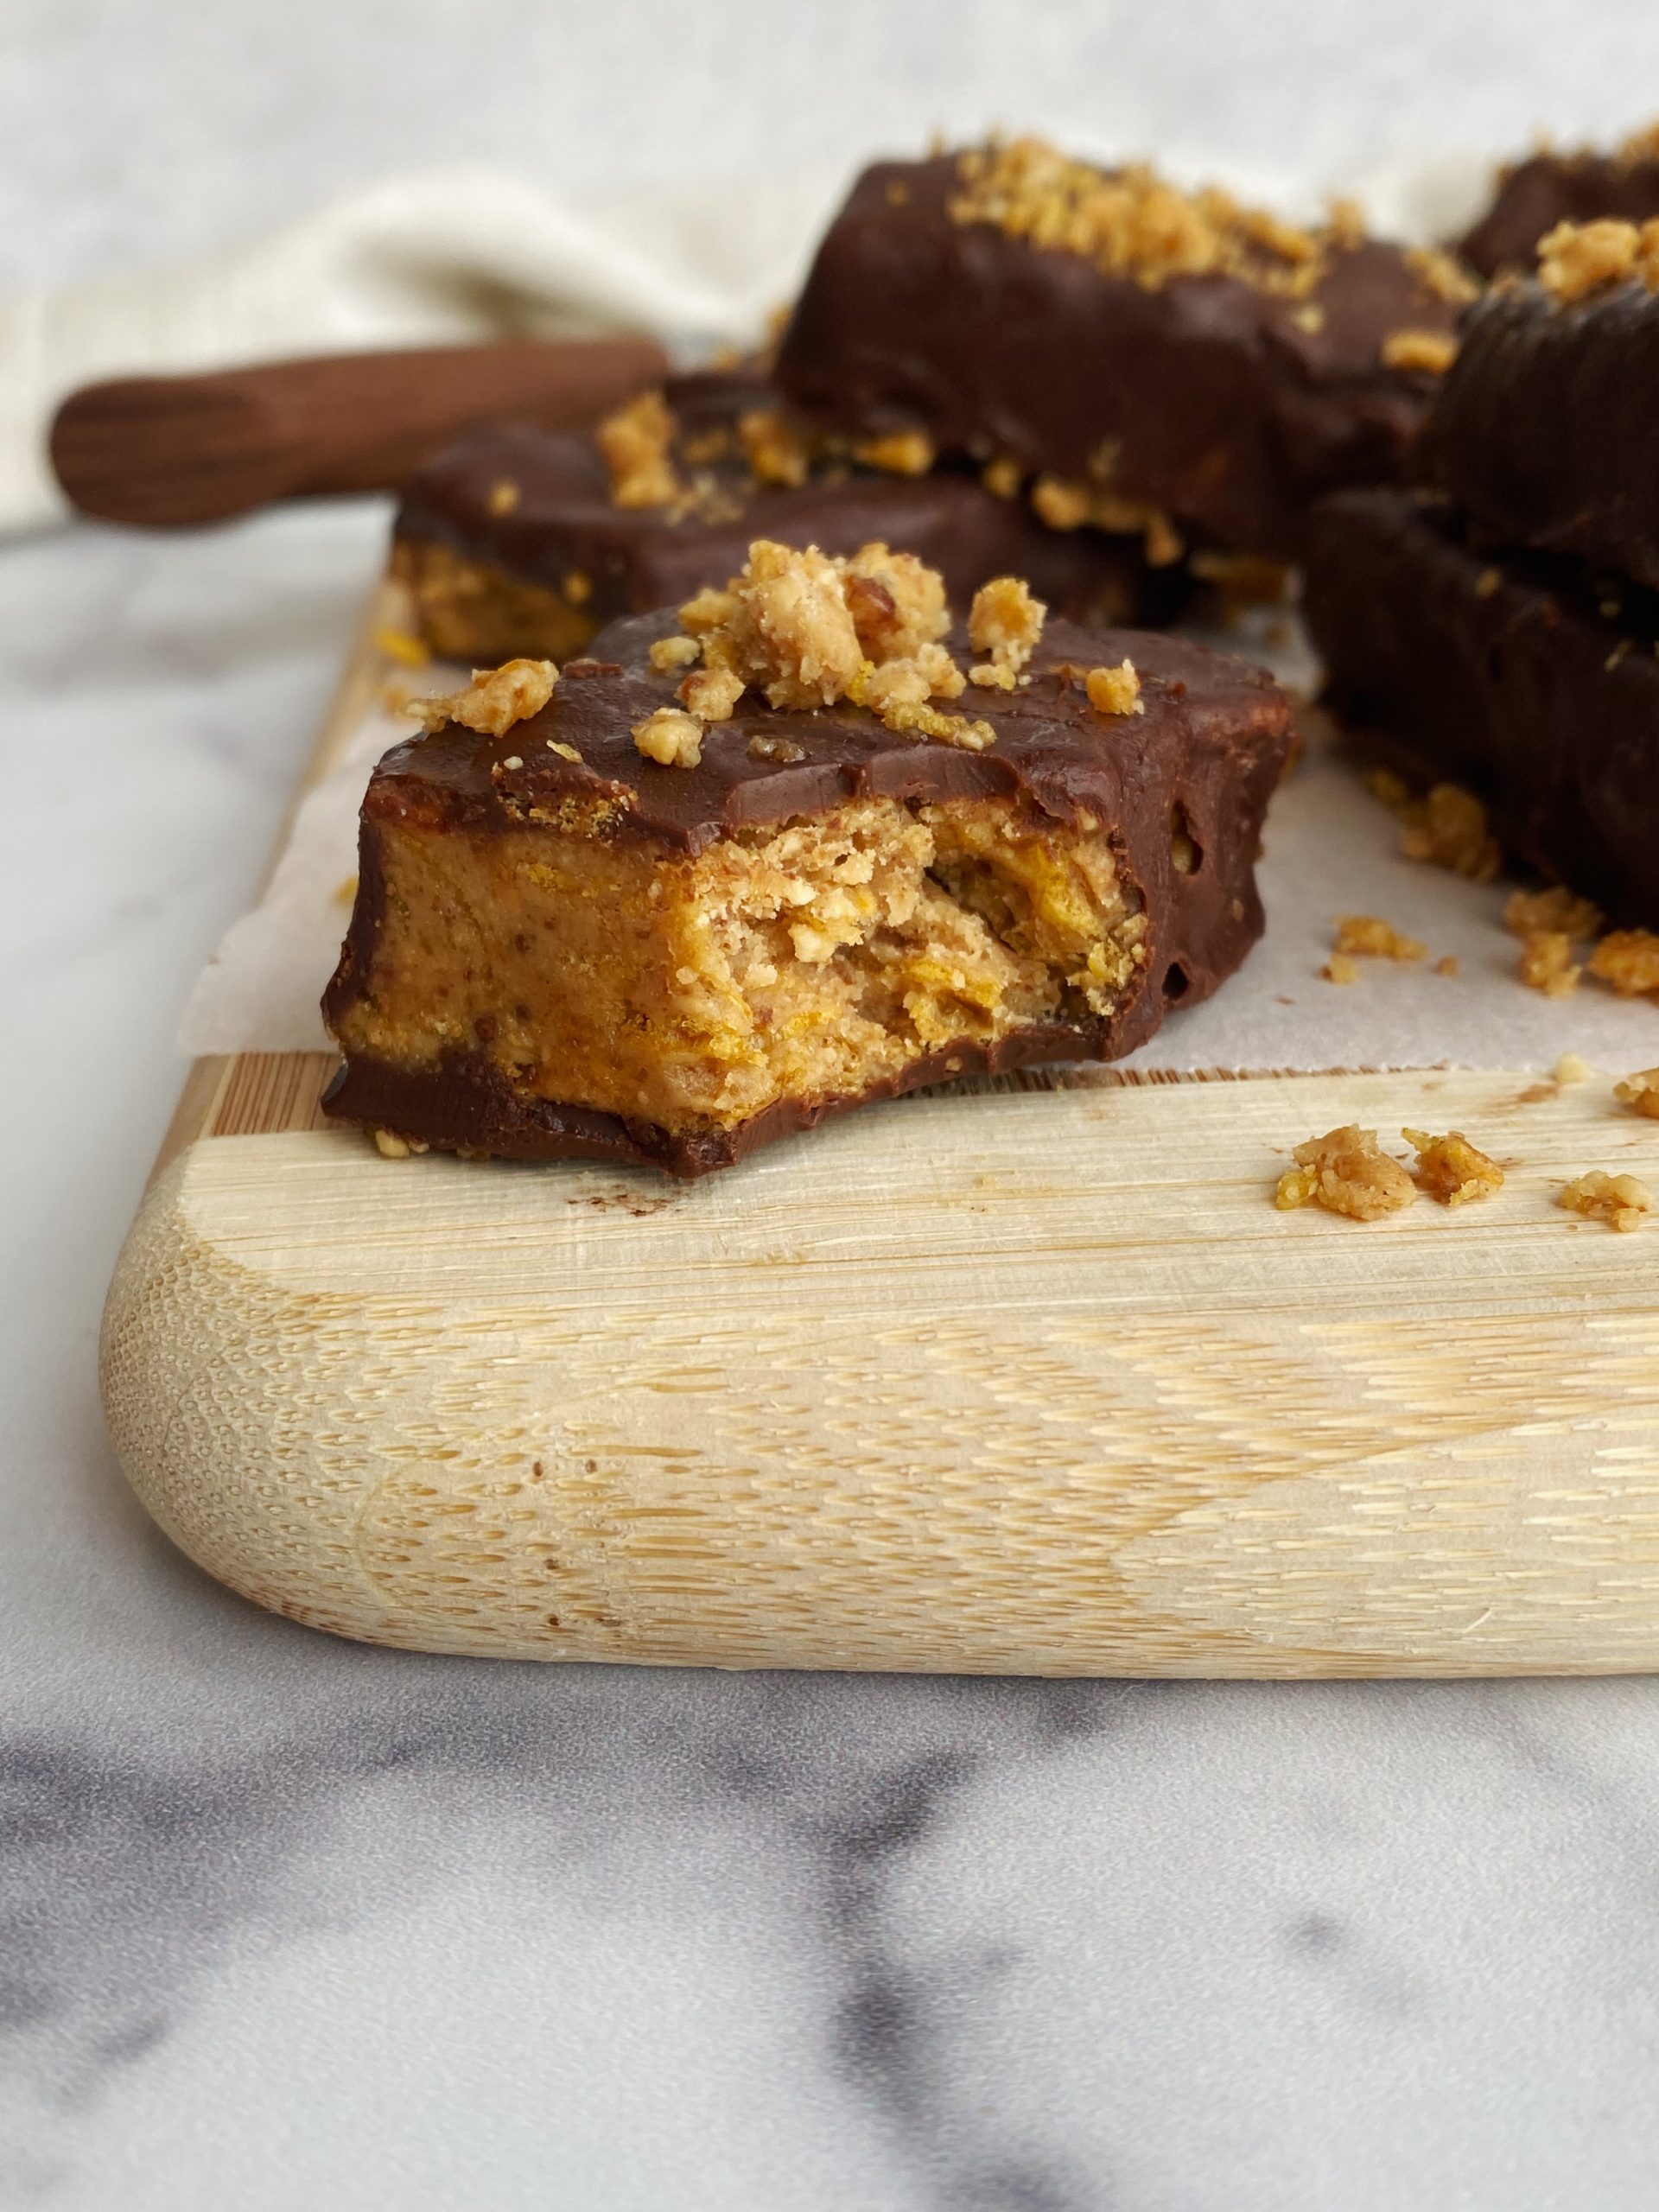
I picked up some real butterfinger bars over the weekend to compare, and lemme tell ya, these came out SO crispy!! I mean, these don’t get stuck in your teeth as much because there’s no corn syrup like in the real ones, but they’re pretty darn close.
In order to get that crunch factor, I added corn flakes to the mix. You can use good old fashion corn flakes, or grab a box that’s naturally sweetened or sweetened with fruit juice.
What you’ll need for these homemade butterfinger bars:
- corn flakes- I like to use a fruit-sweetened one like this one
- creamy peanut butter- roasted peanuts + salt are the only 2 ingredients in the peanut butter I use!
- peanuts, blended into a flour
- honey- sub maple syrup for a vegan version!
- coconut sugar
- pinch of salt
The honey gives it that perfect sweetness, while the coconut sugar caramelizes and provides that dark color.

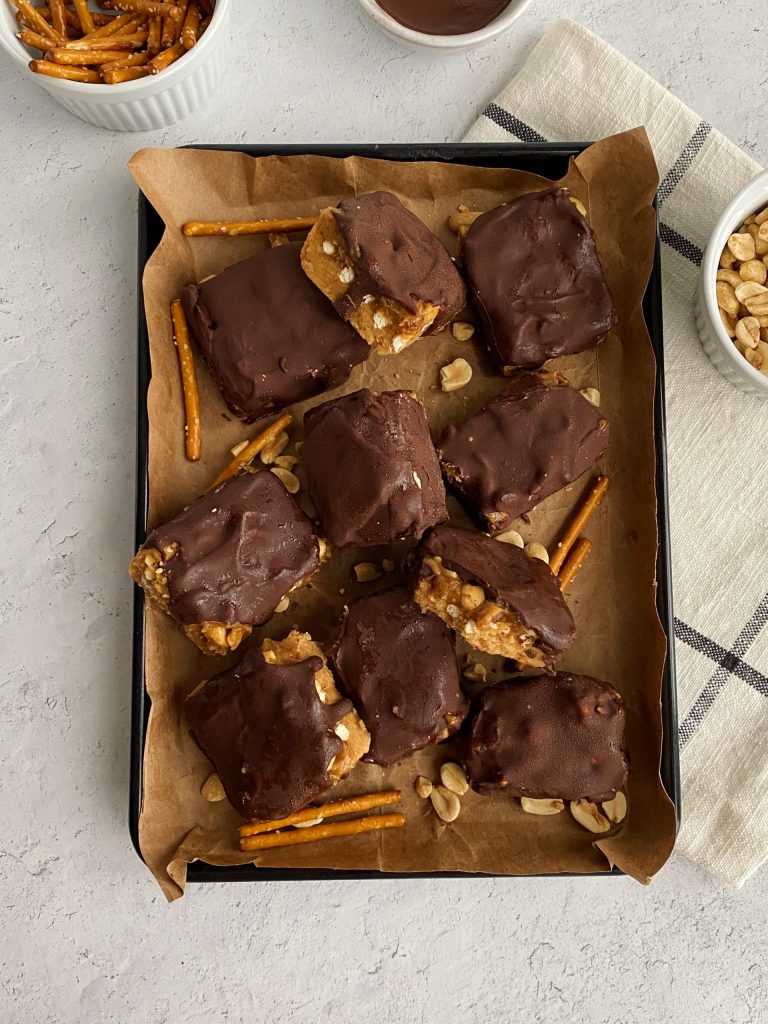
These homemade butterfinger bars are SO delicious, and I’m so happy with the way they turned out. I can’t wait for you guys to try them. Be sure to leave a rating and comment below if you do!
Other chocolate bar recipes you may like:
Vegan Caramel Candy Bars (aka Twix!)
Homemade Butterfinger Bars (gluten-free)
Ingredients
- 2 + 1/2 cups corn flakes
- 1 cup natural peanut butter
- 1/3 cup peanuts, blended into a flour
- 1/3 cup honey, or sub maple syrup for a vegan version
- 1/4 cup coconut sugar
- Pinch of salt
Chocolate Coating
- 1 cup dairy-free chocolate chips
- 1 tsp coconut oil
Directions
- In a medium saucepan over low heat, whisk together the peanut butter, honey and coconut sugar until smooth, for about 3-4 minutes.
- Turn the flame off, and pour in your corn flakes and peanut flour. Stir the mixture together with a spatula, crushing some of the flakes as you mix. I like to leave some whole for extra crunch.
- Once fully mixed, flatten the mixture into a parchment lined 8 x 8 baking dish. Freeze the bars for at least 1 hour, until firm.
- Melt your chocolate chips in a microwave safe bowl with the coconut oil until smooth. I like to do this in 30 second increments, mixing after each round.
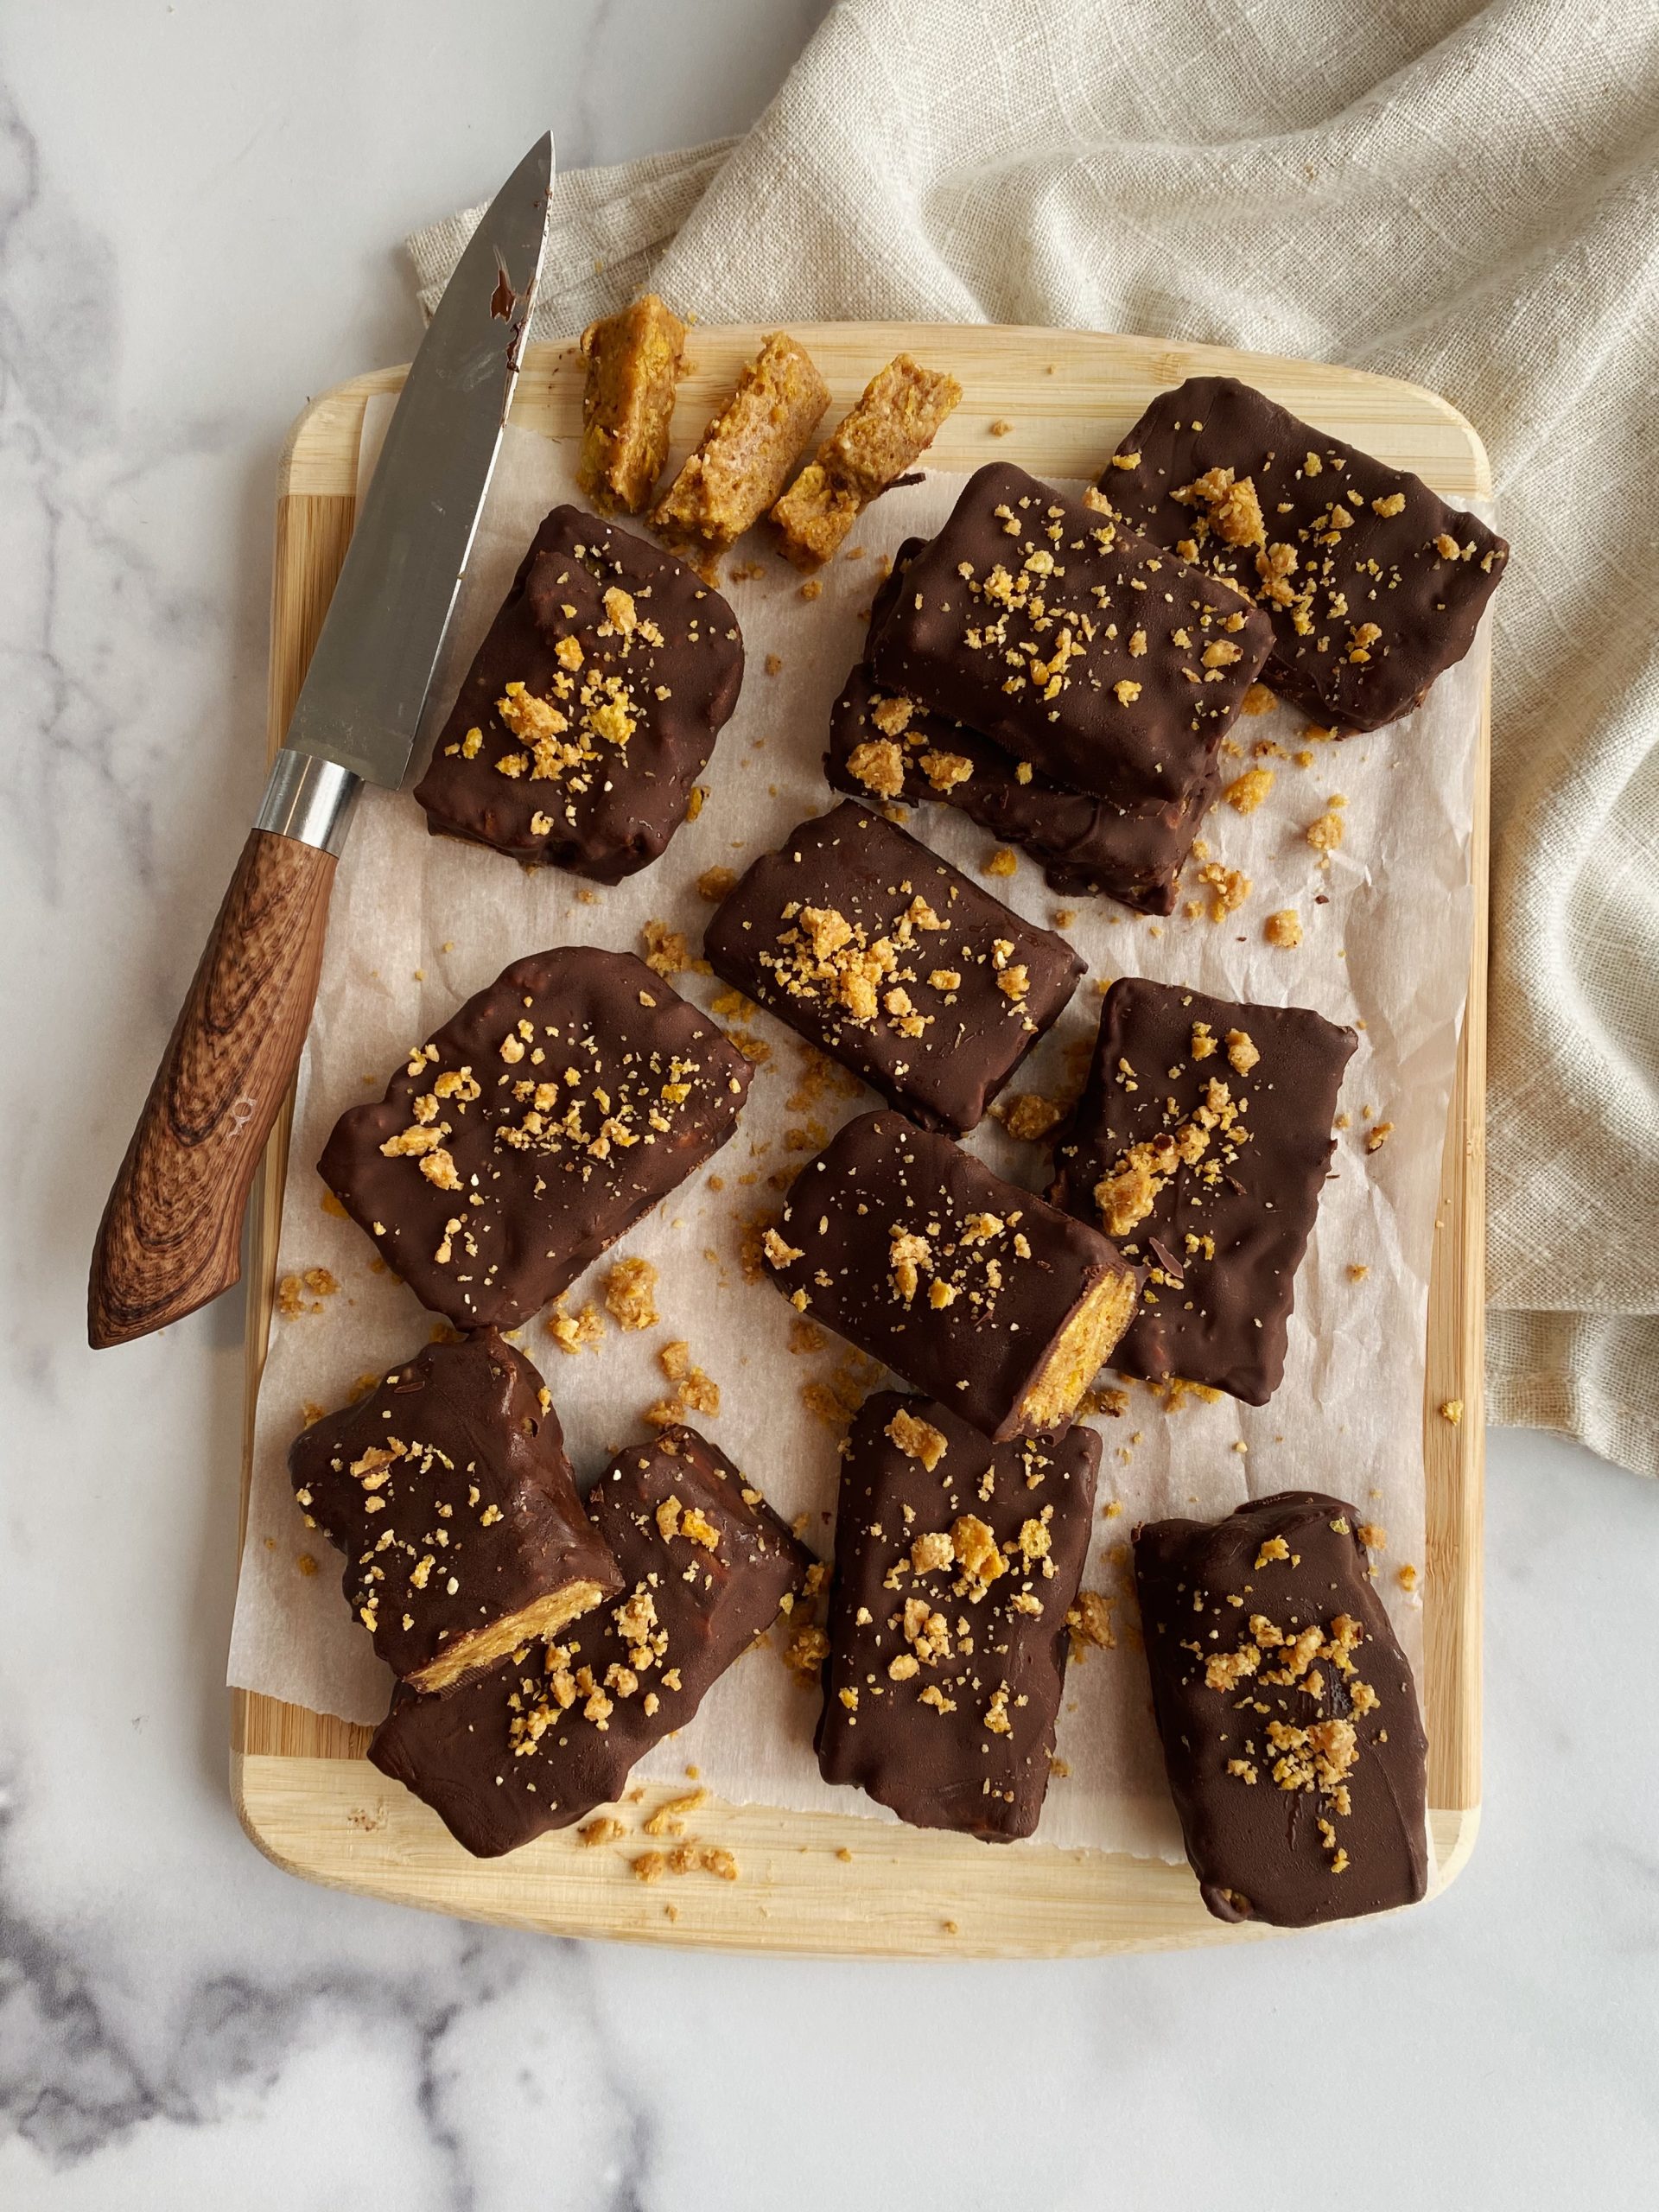
- Remove the bars from the freezer and slice into 12 or 15 small bars. Slice them into 3 columns, and then across 3 or 4 times depending on the size you want!
- Dip each bar in the melted chocolate and place onto a flat tray or cutting board lined with parchment paper.
- Once all the bars are coated, place the bars back into the freezer to set for 10-15 minutes. Remove from freezer and slice around the bars to even them out.
- Keep stored in freezer for up to 3 months.

Hi Rachel, so sorry I missed your previous comment about this issue. From what I read online, sometimes this can happen when mixing sugar and peanut butter. A few drops of hot water may help soften up the mixture while whisking on a very low flame or even off the flame.
Made these a few times. Whole family loves them. I use pear juice sweetened corn flakes from Nature’s Path. Thanks for sharing !
So glad you tried it! Thank you for the reminder to make these again soon 🙂
Everytime I heat the peanut butter, coconut sugar and maple syrup together the mixture seizes and becomes stiff not runny. Am I doing something wrong? Thanks in advance.